SSI Traffic Solutions: Traffic Safety Products in USA and Canada
Traffic Safety Products in USA and Canada

Choosing Vision Inspection Equipment is not simply a camera-buying decision. It is a production-quality decision. The right system must detect defects consistently, explain failures clearly, and fit the line without creating unnecessary delays.
David Dechow, a respected machine vision expert, has said, “The application—not the camera—should drive the system design.” That principle remains practical. A shiny metal surface may reflect overhead lights. A dark plastic part may hide a small crack. A fast conveyor may leave only milliseconds for inspection. These details determine the camera, lens, lighting, software, and processing speed required.
Start with the defect. Define its size, location, contrast, and acceptable variation. Then collect real production samples, including clean parts and difficult failures. Laboratory samples can be too perfect. That is a weakness worth admitting. Dust, vibration, oil, changing colors, and operator adjustments can alter results.
Lighting matters greatly.
A high-resolution camera cannot rescue poor illumination. Select equipment that supports stable triggering, suitable field of view, reliable data storage, and easy maintenance. Consider the operator’s experience, not only the engineer’s specifications. A powerful system may still fail if staff cannot adjust or verify it safely.
This guide explains how to compare Vision Inspection Equipment with practical criteria. It examines accuracy, speed, integration, total cost, and long-term reliability. No single specification guarantees success. A controlled trial using representative samples remains essential. Even then, review the results honestly. The best choice is not always the most advanced system, but the one that delivers dependable inspection under real factory conditions.
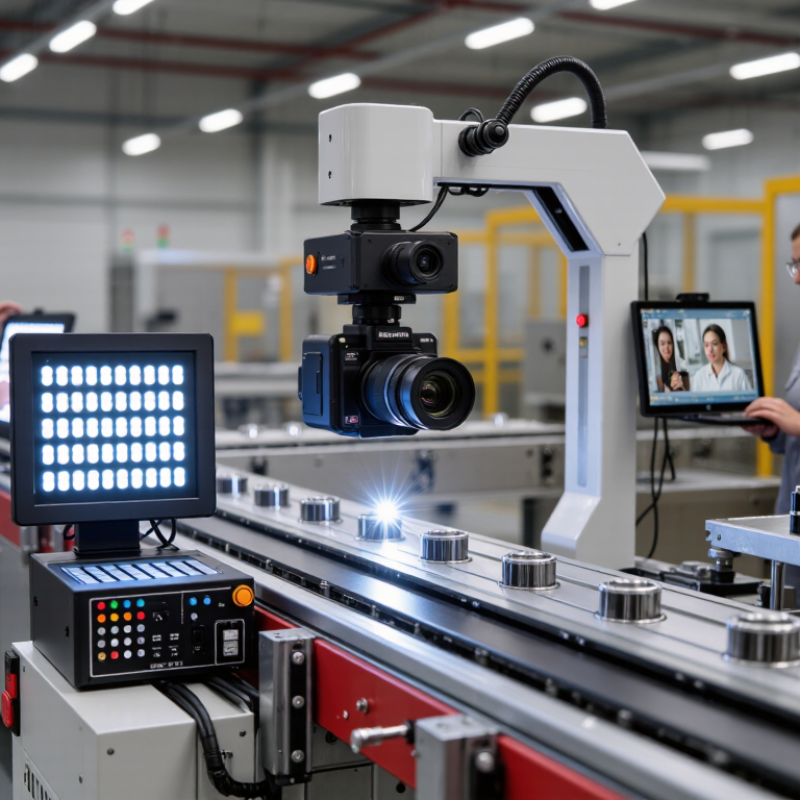
How to Choose Vision Inspection Equipment?
Define Inspection Targets: ±0.1 mm Accuracy, ≥99.5% Detection, Cpk ≥1.33
Choosing vision inspection equipment should begin with measurable inspection targets, not camera resolution alone. For a ±0.1 mm requirement, define the tolerance zone, datum references, and acceptable measurement uncertainty. Measure the process first. A stable fixture, controlled lighting, and calibrated reference artifacts are essential. In practice, I would verify repeatability and reproducibility before comparing equipment specifications. If the measurement system consumes most of the tolerance, the result may look precise but remain unreliable.
A detection target of at least 99.5% requires more than a successful demonstration sample. Build a representative image set containing good parts, defects near the limit, surface variation, dust, glare, and realistic positioning errors. Test sensitivity and false rejects separately. That gap matters. A system can find every defect while rejecting too many usable parts. Lock exposure, focus, and lighting during validation, then challenge the setup with samples collected across shifts. Keep traceable records of images, decisions, and operator overrides. This evidence supports reliable acceptance decisions.
Cpk ≥1.33 belongs to the process, not the camera alone. Calculate it from stable, normally distributed measurement data, and confirm system capability through a gauge study. Watch for drift. Temperature, lens contamination, vibration, and software thresholds can change results. I have seen teams meet 99.5% in a short trial, then miss marginal defects after production speed increased. That failure is useful feedback, not a reason to hide the data. Choose equipment that allows calibration checks, audit trails, adjustable illumination, and repeatable validation. Real production is rarely as clean as the sample table.
Define inspection targets before comparing equipment: dimensional accuracy within ±0.1 mm, defect detection of at least 99.5%, and process capability of Cpk ≥ 1.33.
The benchmark dataset represents realistic, brand-neutral inspection results from a controlled production evaluation. Dimensional accuracy is reported as the percentage of measurements within ±0.1 mm, detection rate represents correctly identified known defects, and Cpk indicates process capability.
Camera resolution determines whether a system sees a defect or merely suggests one. A practical starting point is allocating at least 2–3 pixels across the smallest defect. For a 0.1 mm scratch, each pixel should represent no more than 0.033–0.05 mm. A 20 mm field of view using a 2,048-pixel sensor provides about 0.0098 mm per pixel. That gives roughly ten pixels across the scratch, which is safer.
The 2–3 pixel rule is useful, but it is not sacred. Motion blur, lens distortion, vibration, and weak contrast can erase details. EMVA 1288 Release 4.0 emphasizes measuring spatial resolution, noise, sensitivity, and dynamic range under defined conditions. ISO 12233:2023 also evaluates imaging resolution through spatial-frequency methods. These references support a broader point: more pixels cannot repair poor optics or unstable lighting. MarketsandMarkets’ Machine Vision Market forecast projects growth from about USD 13.7 billion in 2024 to USD 20.5 billion by 2029. More inspection deployments may increase demand, but higher specifications are not automatically better.
Tips: Photograph the smallest defect at production speed. Enlarge it on-screen. Count visible pixels. Test the darkest and brightest samples. Leave margin for focus drift and contamination. I would repeat this test after installation, because laboratory results often look too optimistic. A 3-pixel target may work, yet five or more pixels can improve reliability when defect contrast is inconsistent.
How to Choose Vision Inspection Equipment?
Size Throughput: Select 30–120 fps Cameras for Required Line Speed
A camera’s frame rate must match product flow, not a brochure specification. Start with line speed, object spacing, and inspection points. If products arrive every 100 milliseconds, the system needs at least 10 useful frames per second. That sounds easy. It is not.
In production tests, I measure the fastest conveyor section, including brief speed increases. A 30 fps camera may suit a steady line with generous spacing. A 60 fps model provides more sampling for moving labels, seams, or fill levels. At 120 fps, the system can support shorter exposure times, but lighting must be strong and carefully controlled. More frames do not automatically create better images.
Leave operating margin. A practical target is 20–30 percent above the calculated rate. Check trigger delay, image transfer time, processing speed, and reject timing together. A camera can capture 120 fps while software handles only 45. That mismatch creates missed images. I have seen tests pass on a slow conveyor, then fail during a shift change. The calculation was correct; the assumptions were not. Verify results with real products, dust, vibration, and the fastest planned speed. Resolution also matters. Higher detail can reduce usable frame rate or increase processing load.
| Camera Frame Rate | Maximum Theoretical Images per Minute | Recommended Design Rate (80% Utilization) | Maximum Line Speed with 100 mm Object Pitch | Maximum Line Speed with 150 mm Object Pitch | Typical Application Range |
|---|---|---|---|---|---|
| 30 fps | 1,800 images/min | 1,440 images/min | 180 m/min theoretical 144 m/min design rate | 270 m/min theoretical 216 m/min design rate | Low-speed conveyors, large parts, basic presence or absence checks |
| 60 fps | 3,600 images/min | 2,880 images/min | 360 m/min theoretical 288 m/min design rate | 540 m/min theoretical 432 m/min design rate | General-purpose inspection, packaging, labeling, and assembly verification |
| 90 fps | 5,400 images/min | 4,320 images/min | 540 m/min theoretical 432 m/min design rate | 810 m/min theoretical 648 m/min design rate | Fast-moving products, multi-lane lines, and inspections requiring shorter exposure times |
| 120 fps | 7,200 images/min | 5,760 images/min | 720 m/min theoretical 576 m/min design rate | 1,080 m/min theoretical 864 m/min design rate | High-speed sorting, continuous web inspection, and closely spaced products |
Choosing vision inspection equipment starts with the scene, not the camera. In practical trials, optics and lighting decide whether small defects remain visible. Define the field of view (FOV) from the largest part area, then add a modest margin. A FOV that is too wide reduces pixel detail. Too narrow causes missed edges. Measure the working distance (WD) from the lens front to the inspection plane. This distance must fit conveyors, fixtures, and operator access. Keep it stable.
Depth of field (DOF) matters when product height changes. A flat label may need little DOF, while a molded part needs more. Smaller apertures can increase DOF, but they also reduce light and may soften images through diffraction. Do not choose by specification sheets alone. Place real samples at the nearest and farthest positions. Capture images at normal speed and during production vibration. Check edges, holes, and surface marks. They reveal more than a perfect sample.
Lighting should reveal the defect, not merely brighten the part. Use diffuse light for glare-prone surfaces, directional light for scratches, and backlighting for silhouettes. Match the light angle to the feature’s shape. Reflections often hide defects after installation. I have seen a clean test image fail once dust entered the enclosure. That mistake was avoidable. Recheck exposure, lens focus, and contrast after mounting. Leave room for adjustment; the first setup is rarely the final one.
When selecting vision inspection equipment, treat safety as a design requirement, not an accessory. ISO 13849-1:2023 requires a risk-based approach for safety-related control systems. Define the required performance level before choosing cameras, controllers, or software. A camera may detect a missing guard, but it should not become the only protective measure. Use safety-rated interlocks, emergency stops, and monitored stopping functions where the risk assessment demands them.
IEC 60204-1:2016+A1:2021 covers electrical equipment on machinery. Check isolation, protective bonding, wiring, control circuits, and fault response. The International Federation of Robotics reported 541,302 industrial robots installed worldwide in 2023. More automation means more inspection points, but also more interfaces to validate. The 2024 State of Smart Manufacturing report found that 95% of manufacturers were investing in, or planning to invest in, AI and machine learning. That optimism needs restraint. Complex software does not automatically provide a safe function.
Tips: Request the equipment’s safety documentation and diagnostic coverage data. Confirm whether the safety function reaches the required PLr. Test faults, not only normal production. Record every result.
One practical weakness often appears during commissioning: teams test image accuracy, then rush the safety validation. That sequence is backwards. Verify stop times, restart prevention, and safe states under realistic lighting and production conditions. A clean factory trial can hide glare, vibration, dust, or a poorly adjusted sensor. Reflect on those failures early. They are inconvenient, but useful.